Painter to Maya Texture Bridge
Tool Creation for personal projects and written with Python.
After working with the Tech Art team at Bungie and writing documentation on the tools that were created. I began to expand on my own workflow improvements. Solving the issue of what the artist is saying and what really needs to be built to liberate the user from spelunking through menus to do the same task several times, taking them out of the flow of creating, reviewing, and inspecting a model from all angles to make adjustments.
The Maya to Painter Bridge (Python):
A tool in maya to quickly allow artists to connect nodes in hypershade with Arnold render materials using the PBR metal-roughness workflow from substance painter and other texturing software tools. The bridge tool allows for a fast-tracked formation of the model textures through the node system in hypershade. Allowing the artist to bypass the various node setups manually shown in example video 1. Creating a smoother experience setting up models for cinematics, and animations.
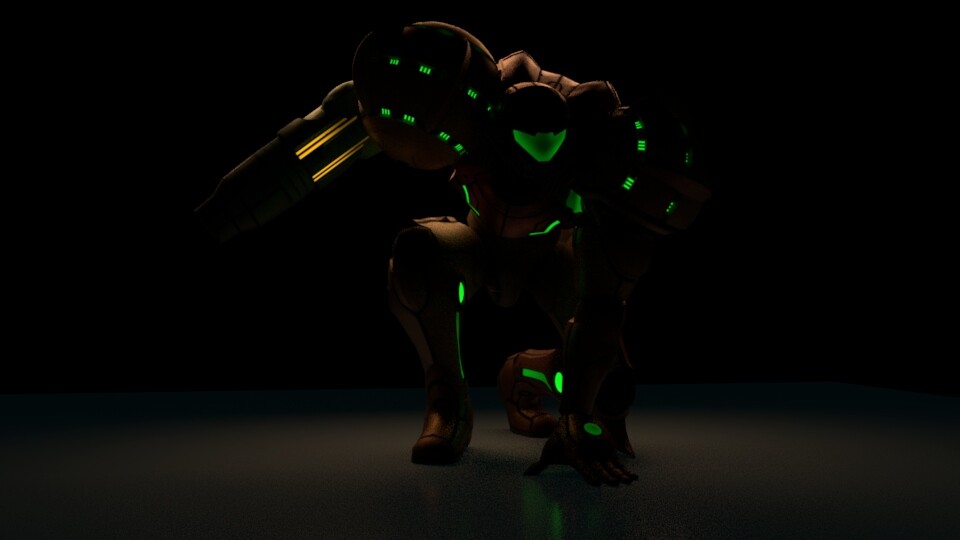
Darkness falls on planet Zebes
The Bridge Tool menu functioning.
Example video of the original method for comparison.
Discoveries:
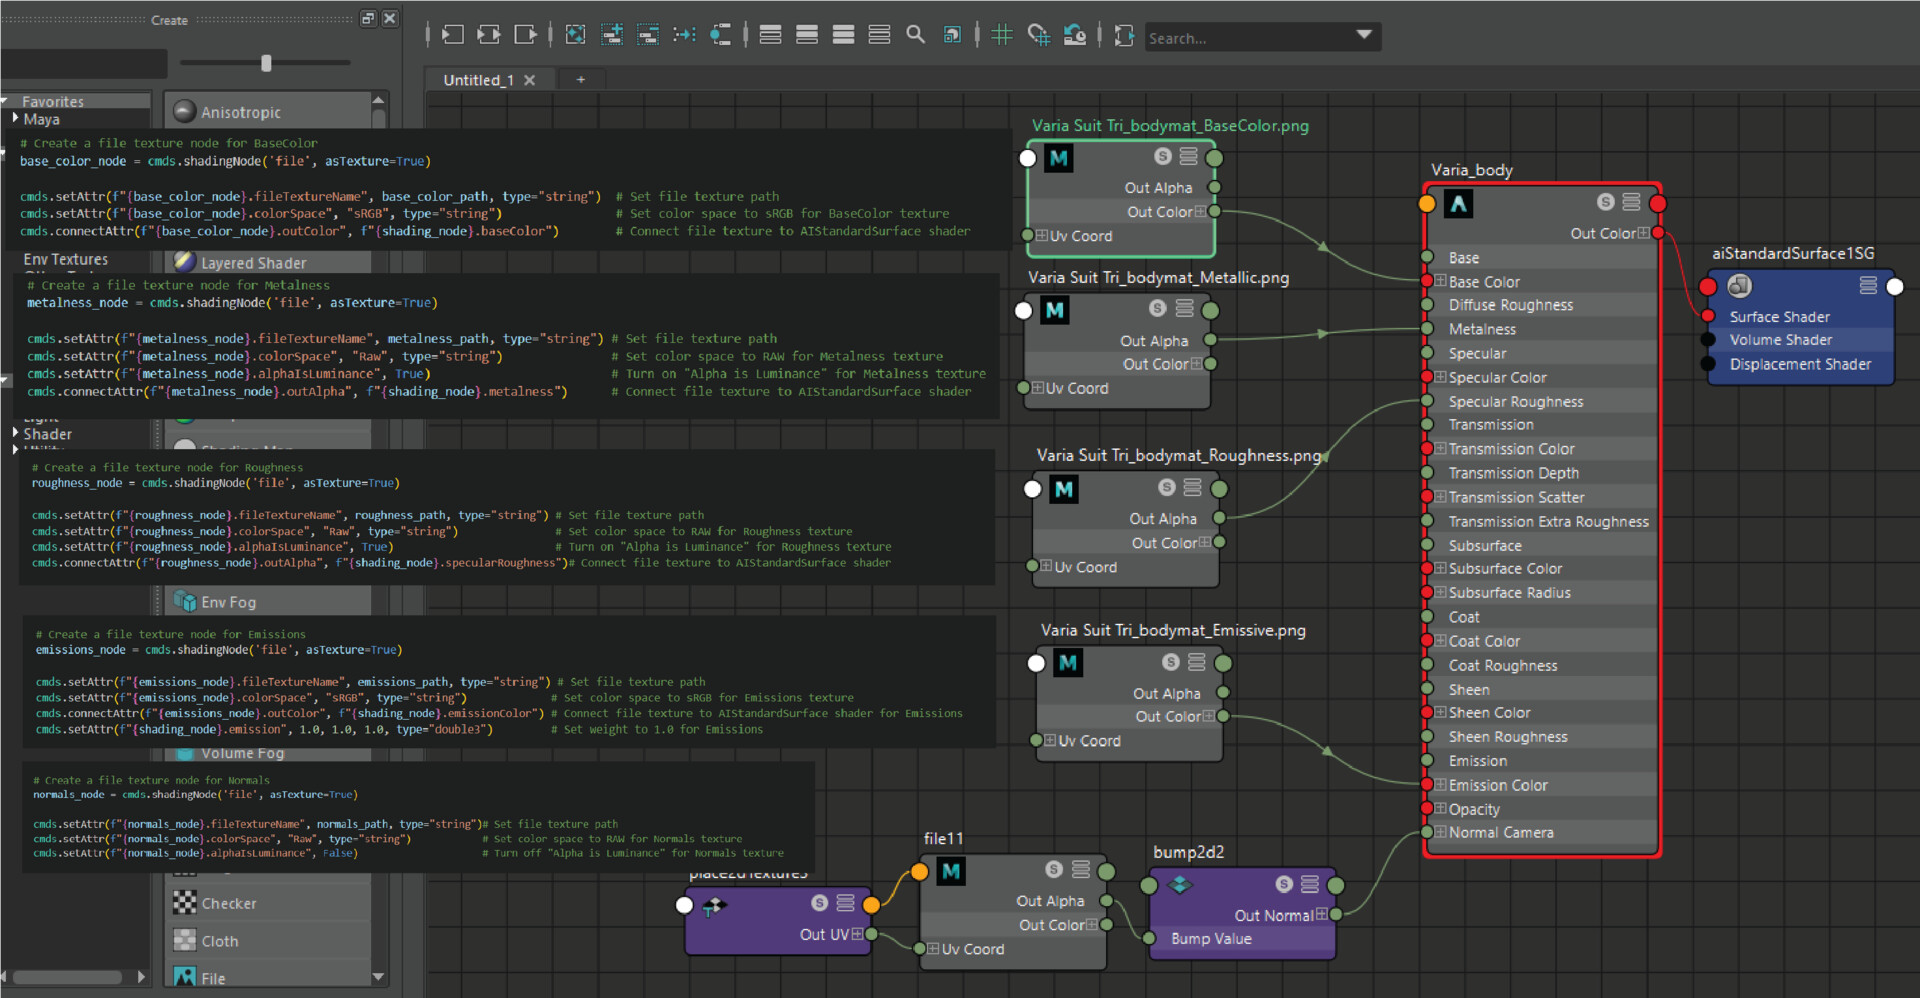
During the R&D process I uncovered that I could set node attributes with Maya commands using Python. I added explanations of what lines of script effected what part of the material node being created.
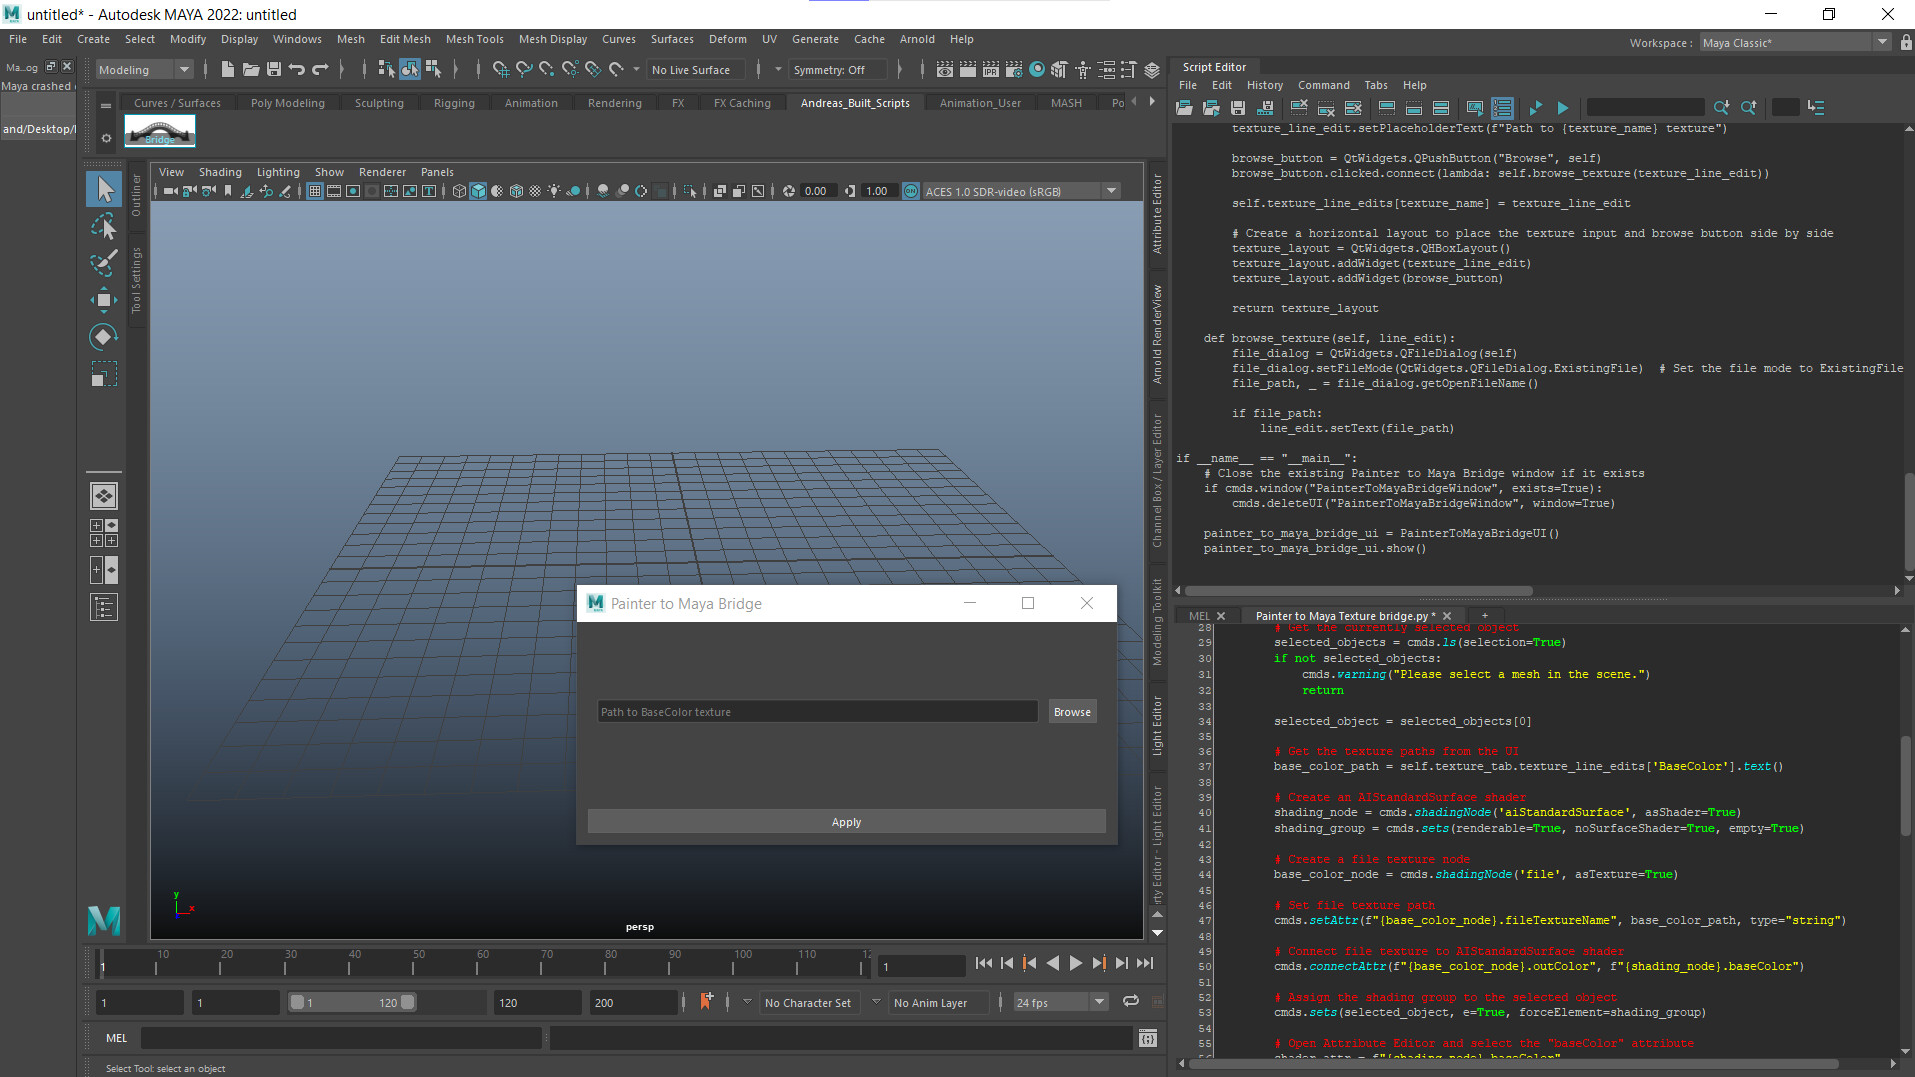
Here I tested the idea by working with simply the base_color node and building out the UI that a 3D Art purest would find easy to use.
After multiple versions reviews from a few graphic designer colleagues I settled on this simple design.

This led to the final UI with all the paths described and efficiently browsable. It is scripted to create all the nodes needed regardless of if you have 5 for the PBR Metal Roughness workflow or if the user is importing from another painting software.

PBR metal roughness, from left to right.
BaseColor, Metallic, Roughness/Specular, Emissions, and Normals/BumpMap. All created from the bridge tool.

All culminating to these wonderful shots that took me a fraction of the time to setup compared to me using the program the first time 6 years ago.


